
Having greasy hair can be a nuisance when trying to dye your hair. It’s often believed that oily hair won’t take the dye as well and will lead to more damage in the process. But this is only sometimes true! You can color your oily hair without any extra damage with careful preparation and the right tools. In this step-by-step guide, I’ll show you how to dye your oily hair without causing any harm. So let’s get started!
Preparing scalp and hair
Ready to give your oily locks a makeover? Let’s start by prepping your scalp and tresses for the transformation! Before you reach for any dyes, it’s essential to understand the cause of greasy hair: sebum. Sebum is an oily substance that results from overactive sebaceous glands in the scalp. To counteract this, clean your scalp with a gentle shampoo and conditioner that won’t cause irritation or strip away too much oil.
Avoid products containing harsh chemicals, as these can make matters worse. Dry shampoo can also help absorb excess sebum and reduce buildup between washes. Finish off with a deep conditioning treatment using natural oils such as olive oil to nourish and hydrate your hair without weighing it down. With this simple step-by-step process, you’ll be ready to dye your hair without worrying about damaging it!

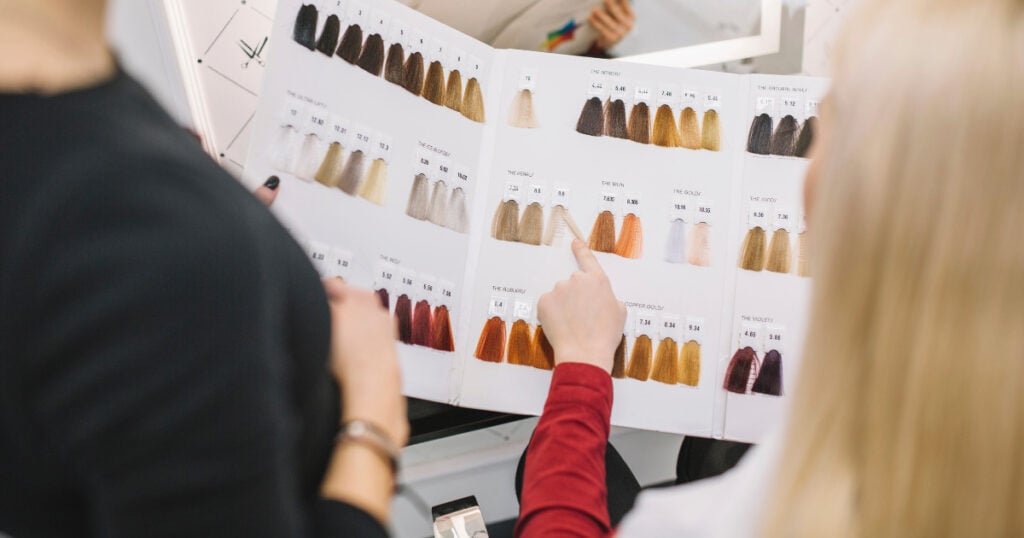
Choosing Dye
You can give your tresses a colorful makeover without harm with a few careful selections! When choosing dye for oily hair, there are two main options: permanent hair dye or semi-permanent hair color. Permanent hair dyes have strong chemicals that penetrate the cuticle and create long-lasting results. However, they also contain a developer, which is necessary to activate the dye but can be damaging if not used properly.
On the other hand, semi-permanent dyes don’t contain any harsh chemicals or developers and are, therefore, much gentler on the scalp and hair. The downside is that these dyes will fade after several weeks, so regular touch-ups may be required. Ultimately, choosing what works best for your particular needs is up to you.
Applying Dye
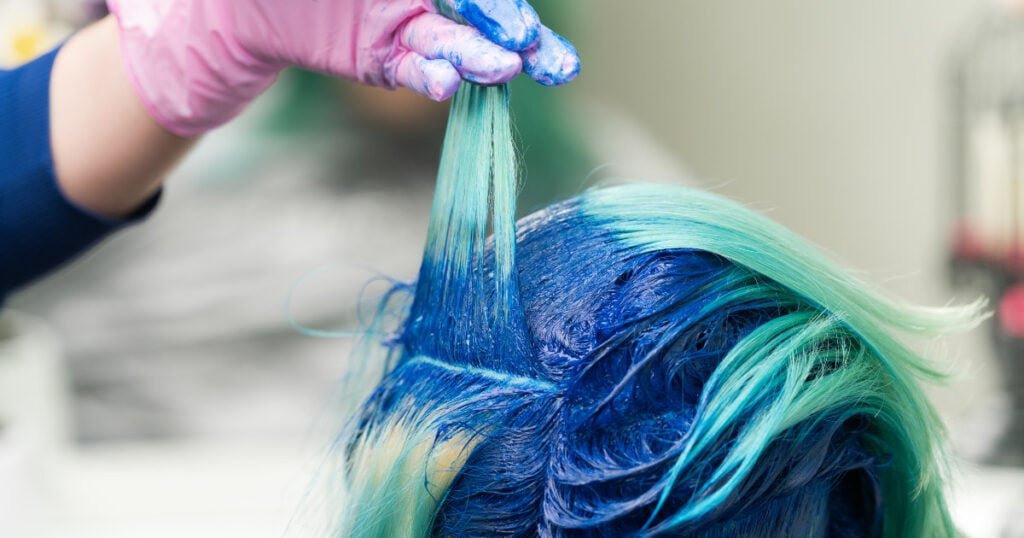
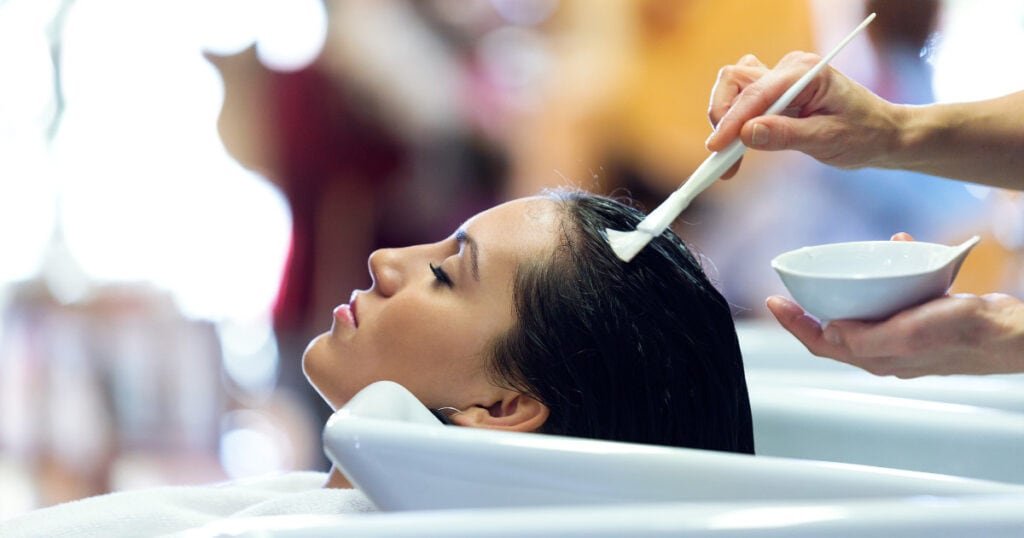
Now that you’ve chosen your dye, it’s time to transform your tresses with a splash of color – so let’s get started! Before you begin, wear gloves and an old shirt to protect your skin and clothes. Mix the powder or cream dye according to the package directions in a non-metal bowl to start the dyeing process. Next, section off your hair into four parts using clips or rubber bands. Start applying the dye from the back of your head towards the front, working it through each section from roots to tips.
Apply enough pressure as you work through each strand to open up the hair cuticle and ensure even coverage. Once all sections have been covered, leave the dye on for about 30 minutes before rinsing out with lukewarm water, followed by shampoo and conditioner. For permanent dyes that require peroxide for activation, follow the instructions on the box carefully when mixing products together before application.
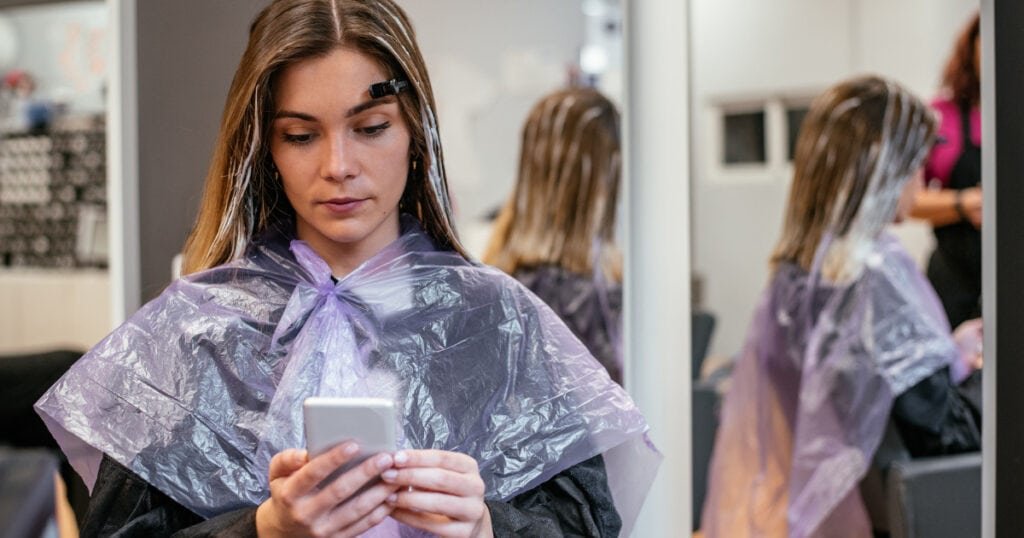
Timing and Processing
It’s important to keep track of time when dyeing your hair, so set a timer and take note of the processing instructions to ensure you get the most vibrant results with minimal damage. Refer to the instructions for the exact timing and developer volume. Depending on which type of dye you use, it can range from 10 to 45 minutes or more.
The concentration of peroxide in the developer will also determine how long you should leave your color on for optimal results. For example, using a higher volume developer could oxidize quickly and damage your hair. If you’re coloring darker shades, using a low-volume developer with a longer processing time is better, as this will prevent over-oxidation and reduce potential damage caused by chemical exposure.
When dyeing oily hair, pay attention to how much product transfers into your strands throughout the coloring process so that all parts are evenly saturated and colored correctly. To achieve this, try adding some heat, like a blow dryer set on cool while applying color in sections instead of all at once. This helps open up pores so that the pigments can penetrate deeper into each strand resulting in more even color distribution throughout your hair without leaving it on too long, which may cause excessive damage.
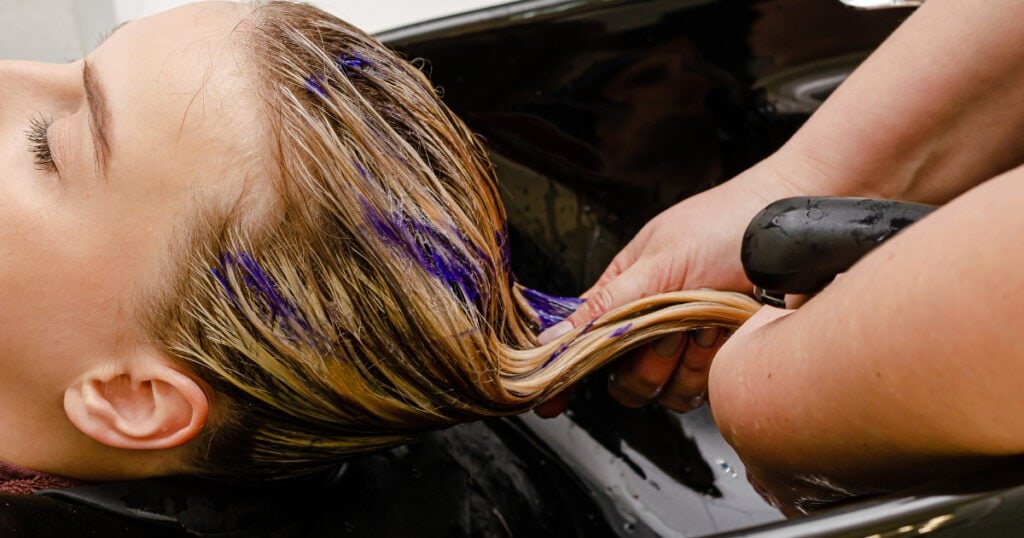
Rinsing Out
Once you have allowed the dye to set, it is time to rinse the product and reveal your new look. Start by thoroughly shampooing your hair with a mild and sulfate-free shampoo that will not strip away any of the colors or irritate your scalp. Make sure to focus on massaging the scalp as well; this helps stimulate oil production in sebaceous glands, forming a protective barrier against residue left behind from hair dye.
After shampooing, follow up with a deep conditioner to give some moisture back into your locks. This will help keep them looking hydrated and healthy after using hair dye. If you have much oily hair, you may want to only condition the ends of your hair instead of applying it all over. Once you have finished conditioning, proceed with rinsing out the product from your head until all traces of the conditioner are gone. You can then admire your new look!
Conditioning
After dyeing your hair, it’s time to give it some much-needed nourishment with a deep conditioner, so you can revel in the beauty of your new look without any damage. Use shampoo to remove any product buildup if your hair is oily or greasy. This will help ensure the conditioner penetrates deeply into your strands and won’t slip off due to excess oil. Ensure not to use too much shampoo, as it can dry out your hair and leave it more prone to breakage.
Once you’ve washed away all the excess oils, apply the deep conditioning treatment to damp hair, starting at the ends and working toward the roots. Comb through gently with a wide-toothed comb for even coverage and leave on for about twenty minutes before rinsing thoroughly with cold water. This will help lock moisture into each strand’s cuticles while protecting against future damage from heat styling or UV rays. Finish up by running a detangling brush through your freshly conditioned locks for softness and shine!
Post-Dye Care
Having completed the dyeing process, it’s essential to take proper post-dye care of your locks, ensuring they remain glossy and healthy. You’ll want to start using a color care shampoo and conditioner formulated specifically for dyed hair. These products will help lock in the new color and provide a barrier against irritation caused by environmental factors such as harsh weather.
Additionally, you may find it beneficial to use mineral or petroleum oils on your hair after showering. These oils provide deep hydration that helps keep your newly dyed hair looking vibrant and shiny while preventing breakage or damage from over-styling. By taking proper post-dye care of your locks, you can ensure that your freshly colored mane stays healthy and beautiful for weeks.
Conclusion
I’ve learned that dyeing oily hair can be tricky, but it certainly isn’t impossible. With the right preparation, you can get beautiful results without damaging your strands. It’s really important to use products specifically designed for oily hair so that the dye is properly absorbed and stays vibrant for longer.
I recently tried this method on my hair and was amazed at how great it looked! The color came out so bright and true to life that I couldn’t believe it was coming from an at-home dye job. So if you want to give your oily locks some extra oomph, don’t be afraid to try dyeing them yourself!