Seeking a fun, creative way to express yourself? Nail art is the ideal way to show off your unique style. It’s easy to learn how to do it, and with some simple tips and tricks, you’ll be able to create amazing nail art designs in no time.
In this article, we’ll walk you through all the steps of creating stunning nail art, from choosing colors and preparing your nails to add accents and details and sealing it all with a top coat.
So let’s get started!
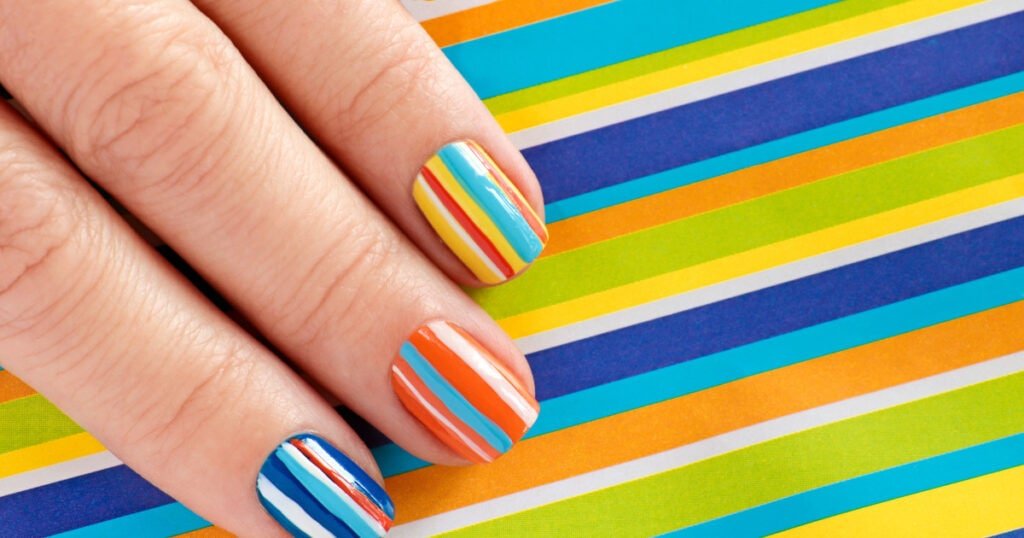
Choose Colors
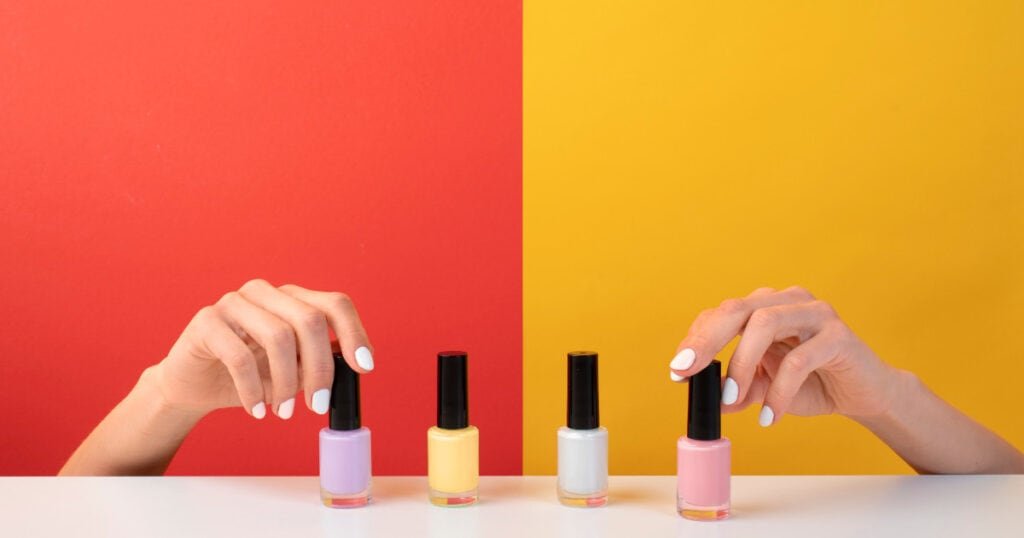
Now let’s pick out some fun colors to use – you can mix and match them for a unique look!
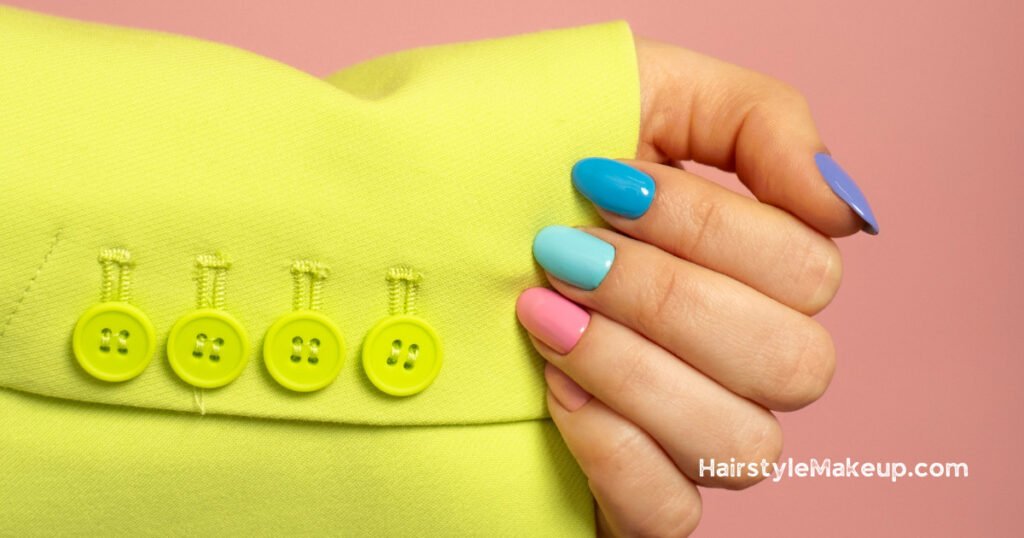
First, think about the overall color scheme you’re aiming for. Do you want to go bold with bright colors or keep it subtle with neutral shades? If you’re feeling adventurous, why combine multiple nail colors? You could even add glitter polish to create an eye-catching design.
Don’t forget white polish when choosing your colors, as it can be used both alone or as a base coat for other shades. If in doubt, opt for neutral tones such as beige or pale pink – there’s always a good option when creating nail art.
To achieve a timeless look, pair two contrasting colors together, such as black and gold or green and pink. With the right color combination, your nails sparkle and shine!
Prepare Nails
Prepare to transform your fingertips into a work of art – it’s time to prep for the showstopper!
Before you can start creating beautiful designs on your nails, first trim and shape your nails with a nail clipper or file. Make sure they’re all even in length, and the edges are smooth.
After that, apply a base coat over each nail to help protect them from any harsh chemicals that may be used later in the manicure process.
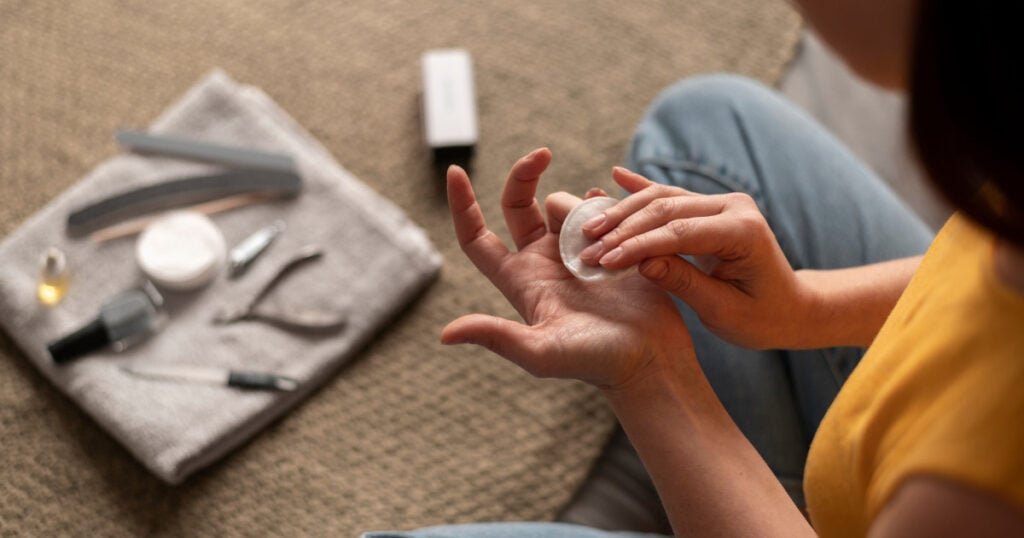
Finally, grab some tools – like a cuticle pusher, striper brush, and tweezers – and get ready for serious nail art fun!
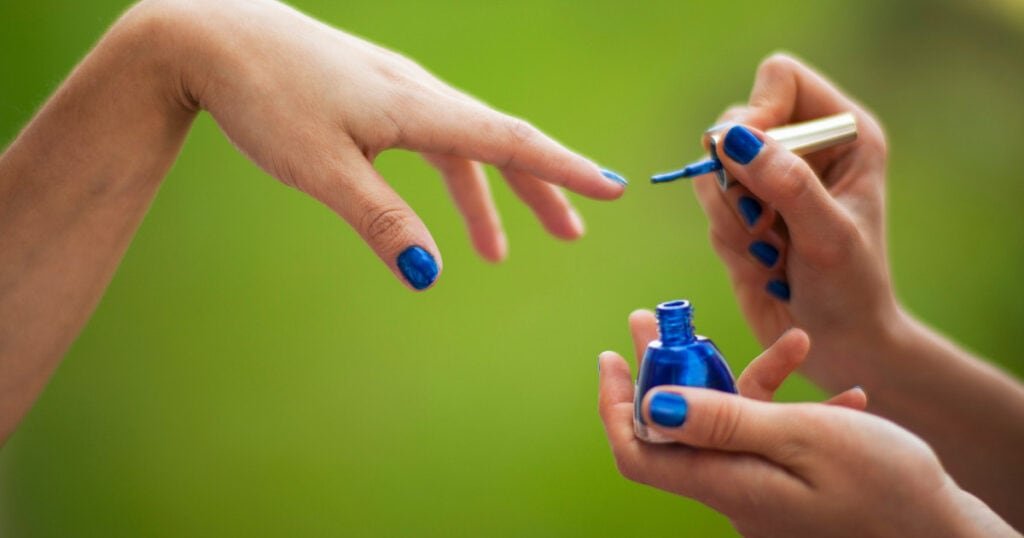
Base Coat
Once your nails are prepped, it’s time to protect them with a base coat and get ready for some serious creative expression.
When it comes to nail art designs, the base color is a vital canvas that can determine the success of your look. Whether painting on intricate designs or opting for a classic French manicure, applying a base coat helps keep your natural nails healthy and protected.
Start by choosing a color that best complements the design you plan to make – this will be the foundation of your mani masterpiece. Give each nail two coats of polish and wait until they’re scorched before moving on to your next step.
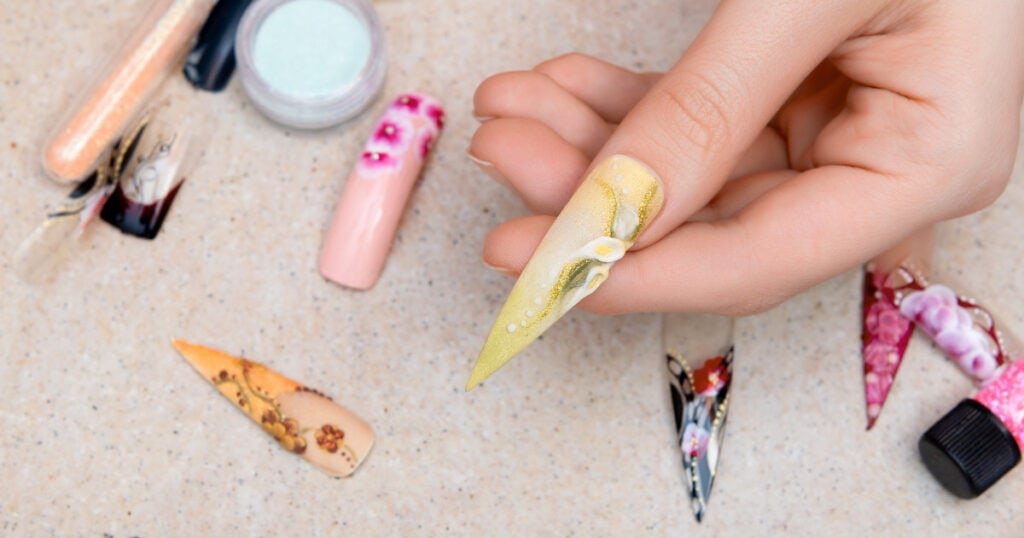
Designs
Nail art is an amazing way to make a fashion statement with your nails. You can create simple designs using glitter, nail design tools, or a nail art brush. For extra sparkle, use metallic polishes or add colored rhinestones.
Daisies are great for a subtle design, while intricate patterns can be created with the help of stencils and templates. Try decals or stickers for easy application if you want something bolder than paint.
With so many ways to customize your look, it’s easy to find the perfect design that expresses your individuality!
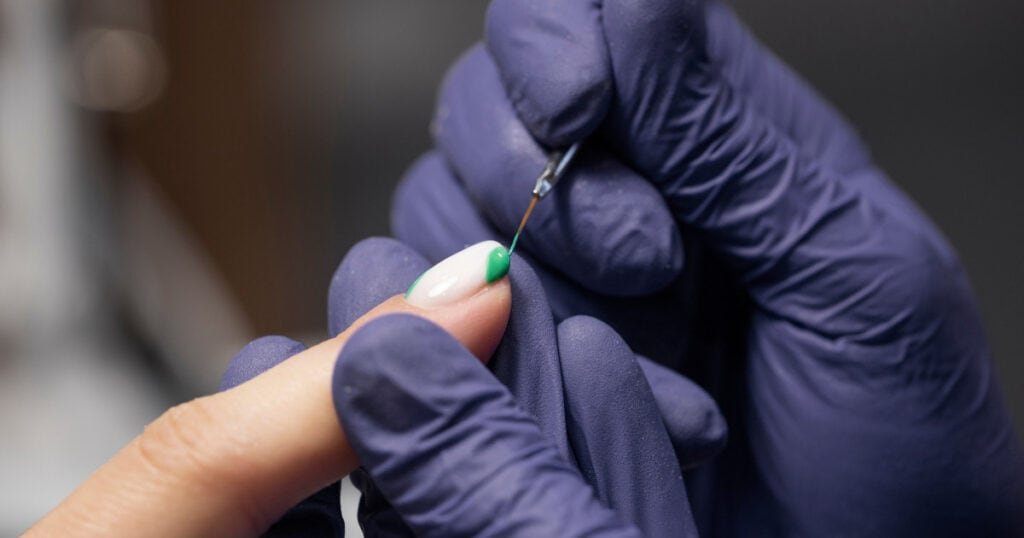
Accents and Details
Adding the right accents and details can take your nail design to the next level! Achieving a polished look requires using different tools and techniques.
For example, you can use a striper brush to create stripes or other patterns on your nails. It’s used to fill in small areas with subtle detail. Nail polishes are essential for adding color and texture, while loose glitter creates fun sparkly effects.
You’ll need some tiny decorations like rhinestones or pearls. Finally, finish with a detailer brush with which you can do finer detailing, such as painting thin lines or applying topcoat around the edges of your nails.
Top Coat
To give your design the perfect finishing touch, apply a top coat – it’ll help make it shine!
A top coat is the final layer of polish that seals in any nail artwork. It also helps protect your manicure from smudges and chips.
When applying the top coat, use light brush strokes and keep away from cuticles to avoid drying out your skin or ruining your mani. Ensure you’ve waited long enough for each layer of nail polish color to dry before adding the top coat. This will prevent smudging or lifting off of tape or stickers used as part of an accent or detail in the design.
To add some extra sparkle, use a gold glitter polish as a top coat over any color for a glamorous look!
Clean Up and Care
Now that you’ve applied your top coat, the last step is to clean up and care for your nails.
You’ll need some supplies, including cotton swabs, nail polish remover, a brush with nail polish, aluminum foil, and petroleum jelly.
It will help if you start by cleaning up around the cuticles with either a cotton swab or brush dipped in nail polish remover. Make sure to avoid getting any on your skin since this can be irritating.
After that’s done, dip an aluminum foil square into some petroleum jelly and use it to remove any excess color from your fingertips – this will leave them looking neat and tidy!
Finally, finish by buffing and polishing your nails until they are smooth and shiny.
Conclusion
You’ve now got your fantastic nail art, and you can proudly show it! You’ve learned how to choose colors, prepare your nails, apply the base coat, create designs, add accents and details, finish with a top coat, and clean up.
With some practice and patience, you’ll soon become a master of this craft. So go ahead – get creative! And remember to take care of those perfect nails so they stay fresh and fabulous for days to come.
It’s time to feel confident in your gorgeous new manicure and celebrate all your hard work!