
You may have the perfect outfit and hairstyle, but something’s still off.
The answer could be neck contouring!
This technique is a wonderful way to give your look a polished finish and define your features.
Neck contouring is like adding jewelry to your outfit; it enhances what’s already there.
You can transform your entire look in minutes with the right products and application techniques.
Let us show you how neck contouring can help make your style stand out!
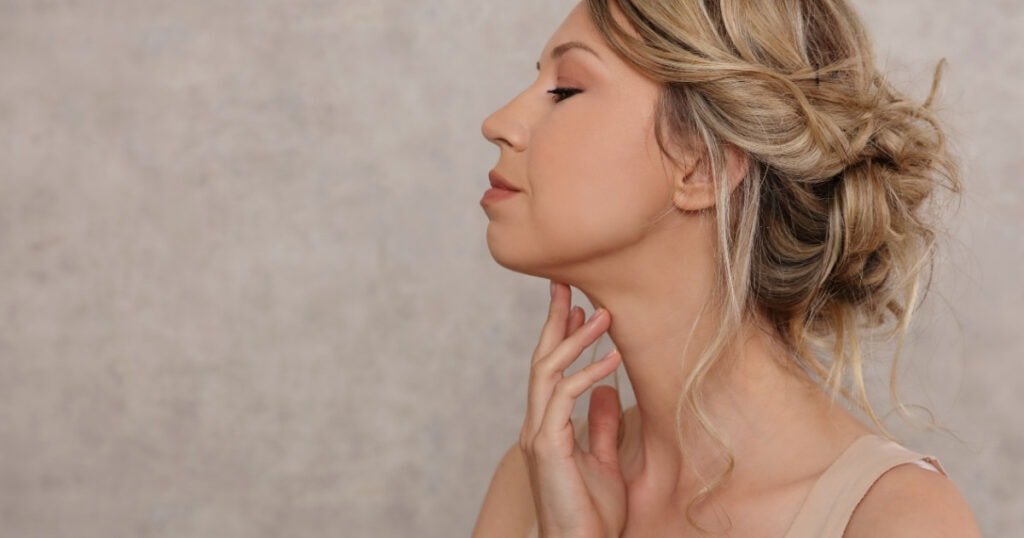
Prep the skin
Get ready to prep your skin for the ultimate transformation! Before you begin neck contouring, it’s vital that you properly prepare your skin.
Start by washing and drying your face with a gentle cleanser so that you have a clean canvas to work with. Once the makeup is removed, apply a thin layer of foundation or moisturizer with a brush to your neck and chin.
This will help create an even tone across your face and neck and ensure that any contouring techniques later blend well into the existing makeup. Ensure to use only a little product as this can lead to an unnatural look that defeats the purpose of achieving subtle, natural-looking results.
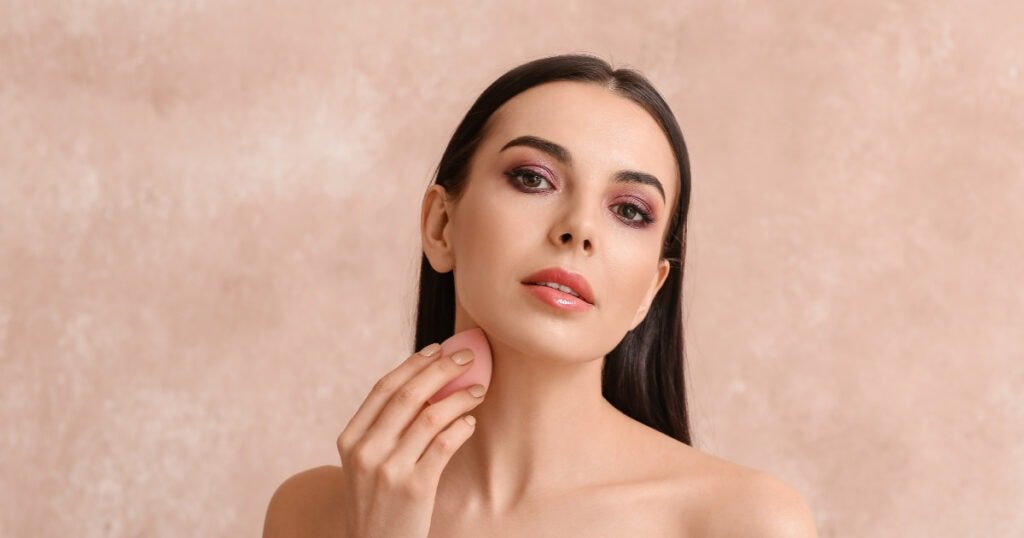
Apply contour product
With just a few simple steps, you can achieve the look you’ve wanted – but first, let’s apply the contour product!
To start things off, choose your shade of contour. This should be slightly darker than your natural skin tone and blend easily with other makeup products like blush or highlighter. Once you have chosen your color, it’s time to apply!
Use a sponge or brush and start from the middle of your forehead, traveling toward your cheekbones. Apply in light strokes along the sides of your nose and jawline for an even finish that allows for a seamless transition between shades. Make sure to blend everything so that no harsh lines are left behind.
For extra definition, use a highlighter on areas such as the brow bone, cupid’s bow, and nose bridge to give yourself more depth and dimension.
Now that you’ve applied all the steps for neck contouring perfection, you can enjoy looking flawless!
Blend the contour
Once you’ve applied the contour, it’s time to blend it for a seamless look that’ll give your face more depth and dimension.
To do this:
- Use a blending brush or sponge to create soft edges around the areas you’ve applied the product.
- Softly move the applicator back and forth until everything is blended nicely.
- For extra smoothness, dampen your tool before agreeing.
This technique will help you avoid creating harsh lines that won’t produce an even result on your neck and jawline.
Dermal fillers are injected into certain neck areas to reduce the double chin appearance, while cosmetic surgery can refine facial features like your jawline and improve overall facial symmetry. If you’re looking for long-term results, these treatments may be worth considering alongside makeup products.
Highlight
Highlighting can be a great way to make your face pop – but don’t go overboard, or you’ll look like you’ve got an orange-colored tan!
When it comes to highlighting the neck area, there are several ways to do it. Light powder on the neck and lower jawline will help define your features without looking too heavy. You can also use highlighters that contain shimmery particles for a more dramatic look.
If you want to add extra definition or lift, try contouring with darker shades of powder, giving the illusion of depth and shadows.
For more advanced techniques, such as fat removal or tightening of platysma bands, various facial rejuvenation procedures are available that target these areas specifically.

Blend the highlight
Blend the highlight to make your face stand out for a subtle yet stunning look!
To ensure you blend it perfectly, start by applying the highlight to the underlying tissues around your neck in thin layers. This will help shape and define the area, giving it a natural contour without harsh lines.
The fatty tissue in this area is delicate, so be careful never to apply too much pressure when blending. Neck banding can also occur if you need to be more cautious with your technique, making blending evenly and slowly using small circular motions crucial.
You may want to consult with a neck surgeon or suture rod if you experience discomfort while doing this at home.
Set the look
Now that you’ve blended the highlight to your desired result, it’s time to set the look.
This step involves using a thinner brush to define the contours of your neck and jawline, giving them a facelift-like appearance. By focusing on where the light hits your face, you can create shadows that will give your neck and jawline a more sculpted look.
You may also use different surgical techniques or dermal fillers to redefine the tissues in this area for an even sharper definition. Blend everything with any method for a seamless finish so it looks natural and subtle.

Finish with setting spray.
Finishing your look with a setting spray helps to lock in the subtle highlights and give your face a polished, sculpted appearance that’ll last all day.
With this technique, you can achieve a flawless-looking complexion while maintaining a natural appearance.
It’s essential to consult with an experienced aesthetician or beauty expert before embarking on your neck contouring journey, as different body types may require different approaches for optimal rejuvenation.
Setting your newly contoured face isn’t complicated but should be done carefully and effectively to get the desired result.
Setting sprays are available in various forms depending on what type of finish you’re trying to achieve. You can find fountains designed explicitly for matte finishes or even shimmery effects that give you a perfect look for any occasion.
Conclusion
You’ve just finished the perfect neck contouring! Now, you have a more defined jawline and collarbone that looks amazing.
Your friends won’t believe it when they see your beautiful transformation – the highlight is so intense it almost sparkles, and the contour is perfectly blended to give you an elegant look.
You can’t help but feel proud to get this right! So admire your work – it’s seriously stunning.
Remember to set your look with setting spray to ensure it lasts all day!